
We have completed these renovations in August of last year but I thought I would share on this blog all the fun, yet time consuming, renovations...
*** pictures of before are the previous owners things so no I didn't renovate and buy all new things.
BEFORE:

AFTER:


my camera doesn't do it justice but here is the break down of what we did.... for the island (that looks white but it's cream) we added bead board, painted, and glazed it.
BEFORE


MIDDLE:


The other things we did was that we added chiseled granite to the counters. Tore out the fake tile and put in hard wood flooring, added a back splash, new appliances ( added a microwave above the stove) and stained the oak cabinets a dark brown to match the hard wood floor. Since we knew we would have dark floor we didn't want the whole kitchen to appear dark so that's why we did the island a different and lighter color and we chose a lighter granite and back splash color to balance it out. We also got a new sink and faucet in a cafe brown color that is my favorite part of this kitchen. It was a lot of work to redo this kitchen and to find the best deals. ( we installed a dishwasher then found one cheaper/nicer so we took it out and redid the whole thing again) but I think if you are going to put money anywhere into your house it should be in the kitchen. (or craft room... that is because I love to cook and craft)


ps dont mind the clutter in some of the picture.
BASEMENT BATHROOM
This bathroom was interesting to say the least. We almost didn't even touch it because we knew a lot of money was going to have to go into it to just make it look decent and it was the basement bathroom. This bathroom could of been on an HGTV Show the before was so bad. The guy who owned the town home before just had it as a rental and didn't apparently care to put money into this bathroom so he "tried" to complete it himself. The only problem is he had NO idea what he was doing. Pictures don't even do justice to what it looked like before so let me try to explain what is going on in each "before" picture:
this is the entry way of the bathroom. If you look closely the mirror has black marks on it because the owner dropped it out of his truck before he installed it. above the mirror there is no electricity for lights
 The only light was this one light bulb in the ceiling with a pull switch.


 (toilets should go out that far from the wall and be placed on an angle)

things I didn't take pictures of: the peel away tile on the ground, trex decking as the molding around the vanity, walls, and shower.
at this point in renovations we were already over budget but we figured if we are renovating the whole place we didn't want to leave this bathroom unfinished and we knew we may not get to it before the baby comes and then I would just keep putting it off. So we tried to save money where we could. We reused the vanity but painted it a sage green and antiqued it with hammering it with nails in random spots
vanity before:


Finished bathroom:


 This bathroom is my "garden" bathroom and I had these signs that said sage, lavender, and mint that is suppose to go in a garden but lets just say this is the closest thing I am getting to a garden so I put them in glass vases with three flowers I bought at Ikea
 a flower pot I received for a wedding gift but like I previously mentioned I am not going to be growing flowers any time soon so I figured it fit my theme and its a good way to stash extra toilet paper.
linking here
*** pictures of before are the previous owners things so no I didn't renovate and buy all new things.
BEFORE:

AFTER:

Here is the kitchen before:

AFTER:

my camera doesn't do it justice but here is the break down of what we did.... for the island (that looks white but it's cream) we added bead board, painted, and glazed it.
BEFORE


MIDDLE:


AFTER:


The other things we did was that we added chiseled granite to the counters. Tore out the fake tile and put in hard wood flooring, added a back splash, new appliances ( added a microwave above the stove) and stained the oak cabinets a dark brown to match the hard wood floor. Since we knew we would have dark floor we didn't want the whole kitchen to appear dark so that's why we did the island a different and lighter color and we chose a lighter granite and back splash color to balance it out. We also got a new sink and faucet in a cafe brown color that is my favorite part of this kitchen. It was a lot of work to redo this kitchen and to find the best deals. ( we installed a dishwasher then found one cheaper/nicer so we took it out and redid the whole thing again) but I think if you are going to put money anywhere into your house it should be in the kitchen. (or craft room... that is because I love to cook and craft)

staining the cabinets

(the microwave above the oven and you can see the back splash better)
and one last look for the finished project...
STAIRS
BEFORE

MIDDLE

AFTER

The stairs going down to the basement are the first thing you see when you walk into my front door and it had this weird wall that stuck out and had a TON of dents and scratches that we couldn't buff out so we did what we could... we added bead board and a shelf.
BEFORE (the stain... I don't have a before bead board pic)

AFTER


How simple and cheap is bead board yet it makes a world of difference. Need to do a quick update choose bead board, you cant go wrong.
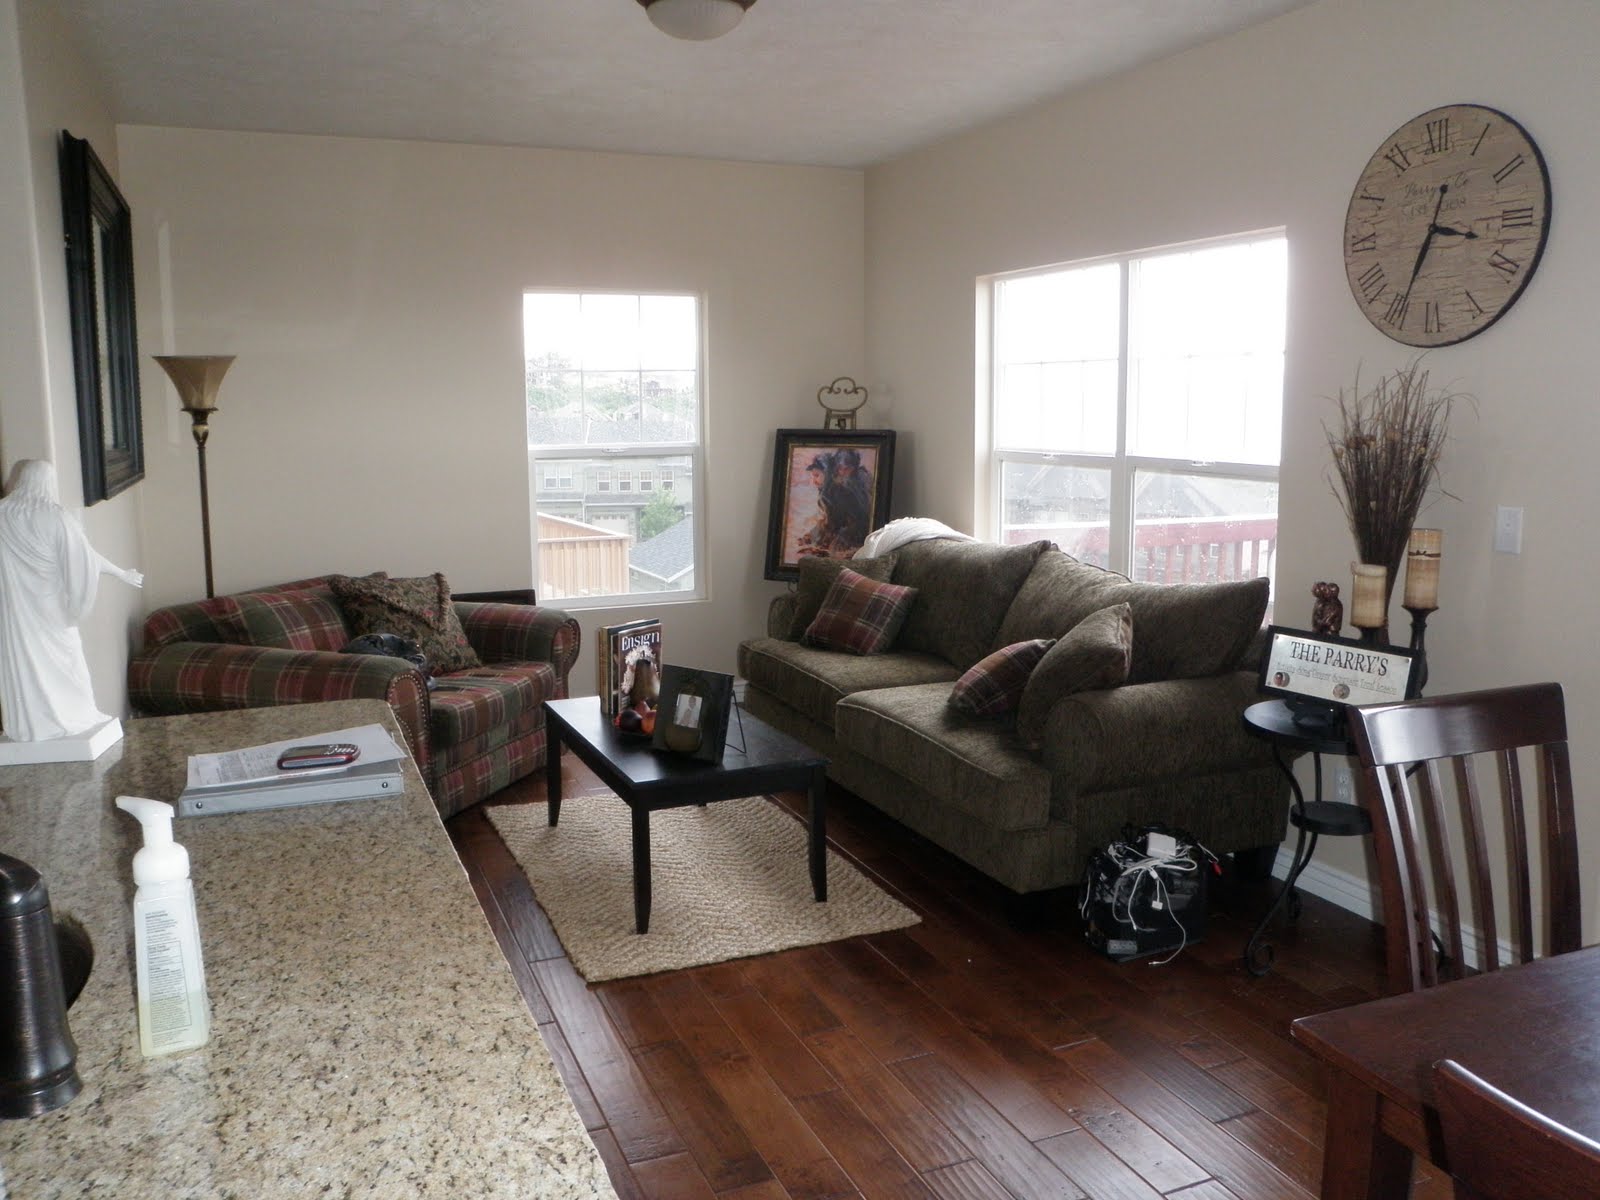
LIVING ROOM
BEFORE:
MIDDLE:

AFTER:

BASEMENT BATHROOM
This bathroom was interesting to say the least. We almost didn't even touch it because we knew a lot of money was going to have to go into it to just make it look decent and it was the basement bathroom. This bathroom could of been on an HGTV Show the before was so bad. The guy who owned the town home before just had it as a rental and didn't apparently care to put money into this bathroom so he "tried" to complete it himself. The only problem is he had NO idea what he was doing. Pictures don't even do justice to what it looked like before so let me try to explain what is going on in each "before" picture:
this is the entry way of the bathroom. If you look closely the mirror has black marks on it because the owner dropped it out of his truck before he installed it. above the mirror there is no electricity for lights


The vanity was cemented in with trex decking (what you would make a outdoor deck with) but it wasn't cemented in very well because you could move the vanity from side to side

This is a side view of the toilet and vanity. the wall needed to come up a whole foot. He also sheet rocked before installing the tub so you could see all the screws etc


we ripped everything out and redo sheet rocked all the walls. installed electricity to go above the mirror and in the ceiling. also made it so it could pass code and installed a fan so it would grow mold when someone showered.

things I didn't take pictures of: the peel away tile on the ground, trex decking as the molding around the vanity, walls, and shower.
at this point in renovations we were already over budget but we figured if we are renovating the whole place we didn't want to leave this bathroom unfinished and we knew we may not get to it before the baby comes and then I would just keep putting it off. So we tried to save money where we could. We reused the vanity but painted it a sage green and antiqued it with hammering it with nails in random spots
vanity before:

After:

some of the nail marks

Finished bathroom:

We painted the vanity, ripped out the old mirror and purchased at TJMAXX homegoods a framed mirror for 30 dollars. We moved the vanity back and took out the trex decking and resheet rocked that wall. We also added lighting above the mirror

now the vanity and toilet are flush against the wall
new tile on the ground we got for a steal of a deal and we placed them on an angle to make the room appear bigger.

you cant see the caulking or screws of the shower anymore

NOW some of my decorating: (these are all things I already had but just used them differently in this house)


linking here


