
Today I am guest posting over at The Wood Connection blog and I wanted to share it will all of you. If you are coming from The Wood Connection blog then go ahead and skip to the bottom to enter the giveaway.

As a party stylist I am always looking for different ways to decorate a party with out breaking the bank. I also love the idea of making something once but using it for party after party. This is why I am excited to be pairing up with The Wood Connection. The people at The Wood Connection probably thought I was crazy because I was a combination of a kid on Christmas morning mixed with a bargain shopper on black friday. I was going crazy with excitment! They have so many fun things to create at a killer price. I won't lie it was hard for me to settle on just one project but eventually I decided on their wood pendant flags. I chose these because it is perfect for those non-sewers and cost effective. You can get two banners out of one, or make one into a chalk board that I will show later in this post. The possibilities are endless! I loved this craft SO much because it didn't take a lot of time, yet it adds that punch of decor that takes the party to the next level.
So let's get started....
I am first going to show you how to create the chalk board banner.
(one side of the banner)

To get the chalk board effect you will want to follow these steps:

Next, turn over your chalk board flags and follow these steps to get an additional banner on the reverse side.


Step 1: Trace the wood on the paper of your choice. My paper is all from The Wood Connection. This place is really a one stop shop!

Step 2. Using the wood glue they sell, apply a thin coat onto the wood and adhere the paper.

Step 3. Don't worry if you didn't cut it out exactly. You can use a razor blade to cut off the excess paper.

Step 4: Ink the edges. (optional)

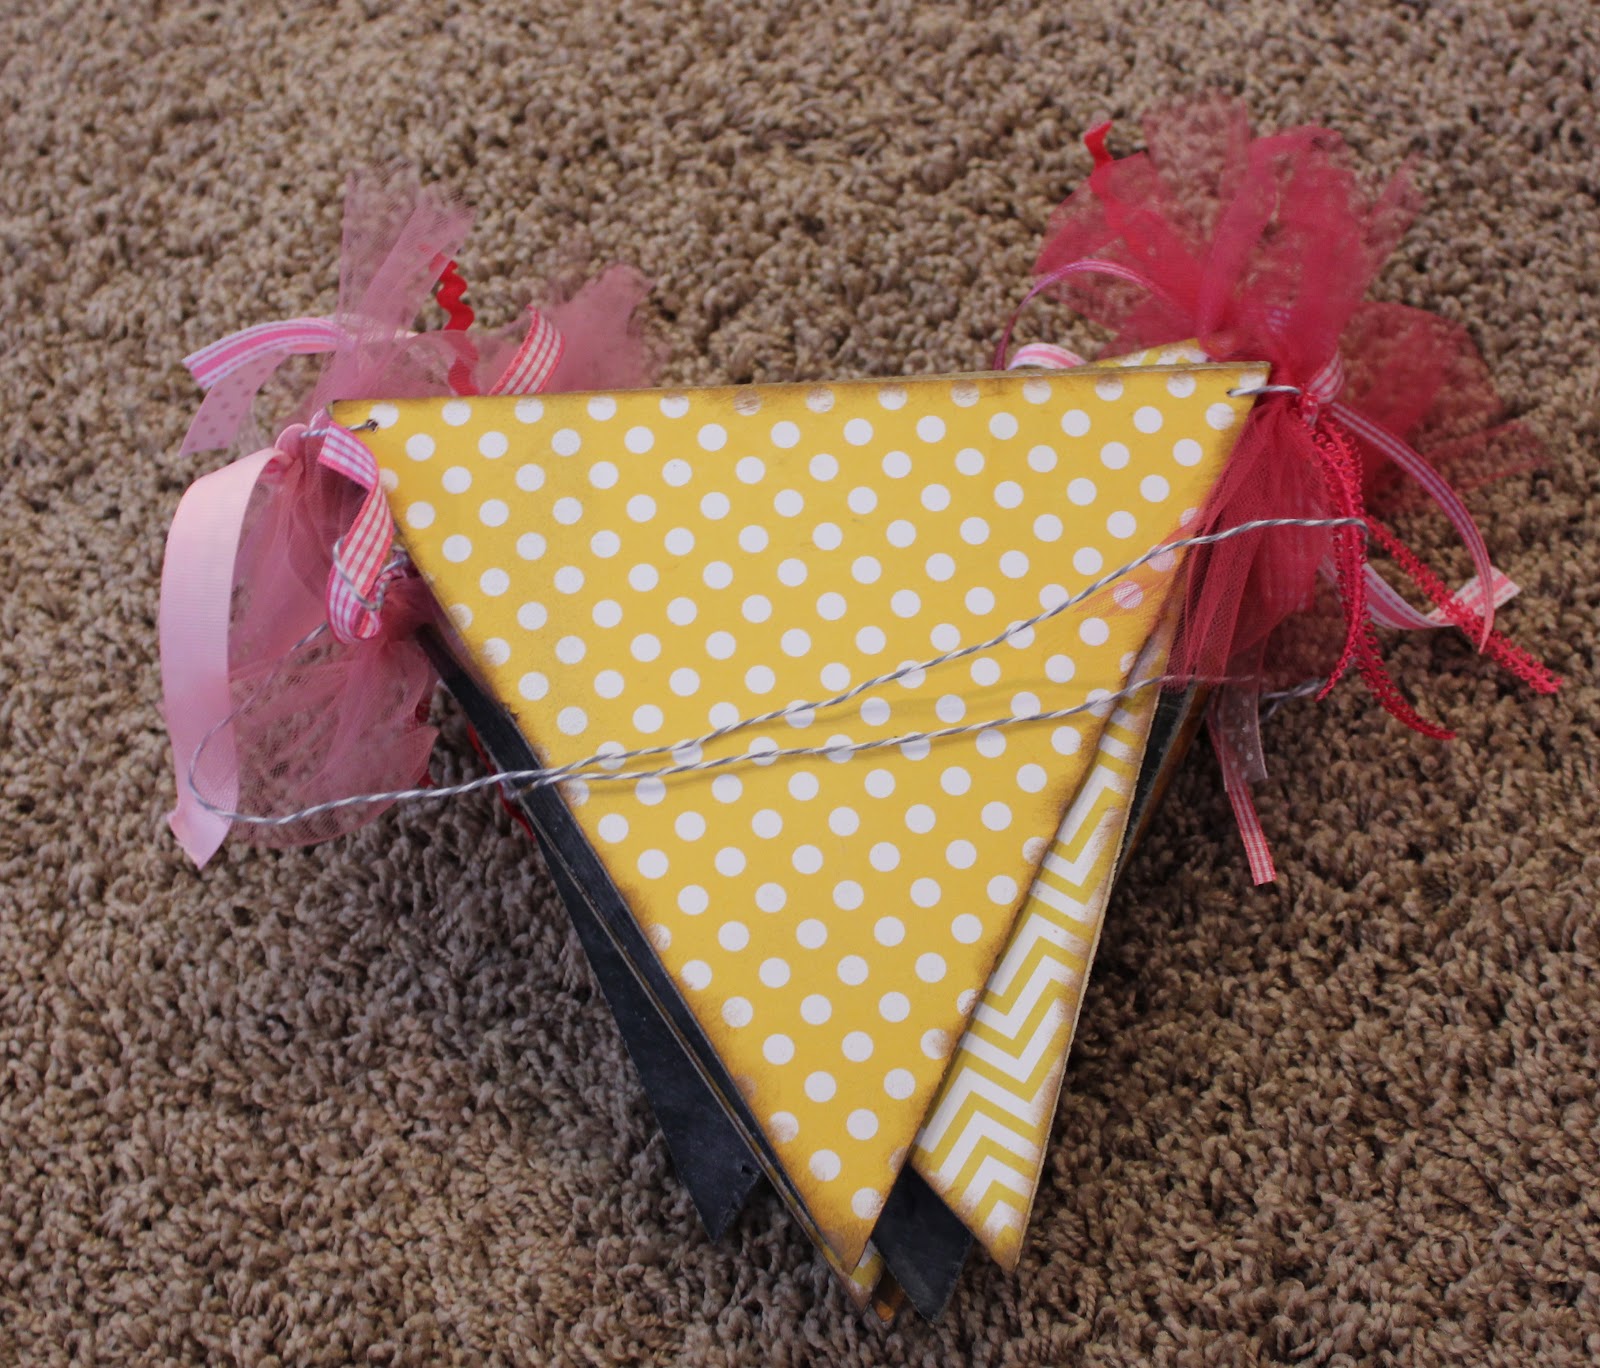
Step 5: String the banner through the holes. I used bakers twine and added some colorful ribbon I got from The Wood Connection.

Step 6. Hang your banner. I like to use these command strips for easy set up and take down.

Now, I want to show you how versatile these banners are. I made this pink banner for a princess party I have coming up in April, but I wanted to use it now for Valentine decor. I used some magnates to easily attach and remove wood letters that I purchase at The Wood Connection for 89 cents.


All you have to do is paint, glue, and attach. Pretty easy right?


Want to know my favorite part besides that it is reversible? It stores up small and easy.
Now for something fun—The Wood Connection is giving away a $25 dollar gift certificate to one of my readers. You will need to be able to go to the store which is located in Salt Lake City, Utah (since they are not shipping right now.) They have wood projects, letters, paper, ribbon, and even a cute boutique in the back.


GIVEAWAY NOW CLOSED!
To Enter:
You MUST be a follower of my blog AND Facebook page. Leave a comment that you are and please include your email so I can contact you :)
Good luck!
This giveaway will end Sunday night, February 12, 2012 at midnight MST. Winner will be chosen at random and will be announced on my Facebook page Monday morning 2/13/12 as well as contacted via email. Winner has 48 hours to respond or a new winner will be chosen.
Disclosure: The Wood Connection gave me all the material in exchange for the post. All opinions and text are my own, as always.
Linking up here
